Help:Space Stations: Difference between revisions
Jump to navigation
Jump to search
| Line 48: | Line 48: | ||
File:DS12 (bottom).png | File:DS12 (bottom).png | ||
File:Engineering station (side).png|Engineering station | File:Engineering station (side).png|Engineering station | ||
File:Engineering station (side profile).png| | File:Engineering station (side profile).png| | ||
File:Engineering station (top).png| | File:Engineering station (top).png| | ||
File:Engineering station (top profile).png| | File:Engineering station (top profile).png| | ||
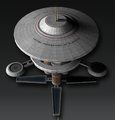
File:Epsilon-ix (top).jpg|Epsilon monitor station | File:Epsilon-ix (top).jpg|Epsilon monitor station | ||
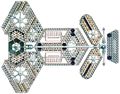
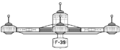
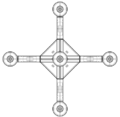
File:Type F (side 1).png|Type F research station | File:Type F (side 1).png|Type F research station | ||
File:Type F (side 2).png| | File:Type F (side 2).png| | ||
File:Type F (top).png| | File:Type F (top).png| | ||
File:Type G starbase.png|G type starbase | File:Type G starbase.png|G type starbase | ||
File:G type starbase by metlesitsfleetyards.jpg| | File:G type starbase by metlesitsfleetyards.jpg| | ||
File:Phoenix project and gateway station by jbobroony-d7n6xhm.png|Gateway Station | File:Phoenix project and gateway station by jbobroony-d7n6xhm.png|Gateway Station | ||
File:Station1 by mrronsfield-d872coz.jpg| | File:Station1 by mrronsfield-d872coz.jpg| | ||
File:H class (side).png| H type station | File:H class (side).png|H type station | ||
File:H class (top).png| | File:H class (top).png| | ||
File:H class (bottom).png| | File:H class (bottom).png| | ||
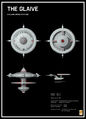
File:H class (specsheet).jpg| | File:H class (specsheet).jpg| | ||
File:J-1 station.jpg| J type station | File:J-1 station.jpg|J type station | ||
File:Jovian miner.png|Jovian mining station | File:Jovian miner.png|Jovian mining station | ||
File:Jupiter Station.png|Jupiter Station | File:Jupiter Station.png|Jupiter Station | ||
| Line 84: | Line 84: | ||
File:Modular space station four.png|Modular space station four | File:Modular space station four.png|Modular space station four | ||
File:Moebius-sta-11.jpg|Moebius Deep Space Station | File:Moebius-sta-11.jpg|Moebius Deep Space Station | ||
File:Moebius-diagram.jpg| | File:Moebius-diagram.jpg| | ||
File:Moebiuspic-03.jpg| | File:Moebiuspic-03.jpg| | ||
File:TOS Phase II orbital office by metlesitsfleetyards.jpg|Orbital Office Complex (early 23rd c.) | File:TOS Phase II orbital office by metlesitsfleetyards.jpg|Orbital Office Complex (early 23rd c.) | ||
| Line 91: | Line 91: | ||
File:Orbital propellant depot.png|Orbital propellant depot | File:Orbital propellant depot.png|Orbital propellant depot | ||
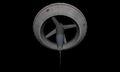
File:Phaser Defense Facility (side).png|Phaser Defense Facility | File:Phaser Defense Facility (side).png|Phaser Defense Facility | ||
File:Phaser Defense Facility (top).png| | File:Phaser Defense Facility (top).png| | ||
File:Phaser Defense Facility (top profile).png| | File:Phaser Defense Facility (top profile).png| | ||
File:Phaser Defense Facility (bottom).png| | File:Phaser Defense Facility (bottom).png| | ||
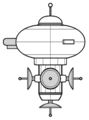
File:Q Type outpost.png|Q Type outpost | File:Q Type outpost.png|Q Type outpost | ||
File:Q Type outpost (side 2).png| | File:Q Type outpost (side 2).png| | ||
File:Q Type outpost (top).png| | File:Q Type outpost (top).png| | ||
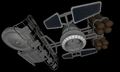
File:Refinery depot (side).png|Refinery depot | File:Refinery depot (side).png|Refinery depot | ||
File:Refinery depot (bottom).png| | File:Refinery depot (bottom).png| | ||
File:Refinery depot (front).png| | File:Refinery depot (front).png| | ||
File:Refinery depot (top).png| | File:Refinery depot (top).png| | ||
File:Regula-type side1.png|Regula-type science outpost | File:Regula-type side1.png|Regula-type science outpost | ||
File:Regula-type side2.png | File:Regula-type side2.png | ||
| Line 125: | Line 125: | ||
File:Relay station.png| | File:Relay station.png| | ||
File:Science facility (side profile).png|Science facility | File:Science facility (side profile).png|Science facility | ||
File:Science facility (bottom profile).png| | File:Science facility (bottom profile).png| | ||
File:Science facility (top).png| | File:Science facility (top).png| | ||
File:Science facility (top profile).png| | File:Science facility (top profile).png| | ||
File:Sensor Relay Facility (side).png|Sensor Relay Facility | File:Sensor Relay Facility (side).png|Sensor Relay Facility | ||
File:Sensor Relay Facility (side 2).png|Sensor Relay Facility | File:Sensor Relay Facility (side 2).png|Sensor Relay Facility | ||
File:Sensor Relay Facility (top profile).png| | File:Sensor Relay Facility (top profile).png| | ||
File:Sensor Relay Facility (bottom).png| | File:Sensor Relay Facility (bottom).png| | ||
File:Starbase 1 UESF.png|Starbase 1 (profile) | File:Starbase 1 UESF.png|Starbase 1 (profile) | ||
File:Starbase 1 UESF (slanted).png|Starbase 1 UESF (slanted) | File:Starbase 1 UESF (slanted).png|Starbase 1 UESF (slanted) | ||
File:Starbase 14 (side).png|Starbase 14 | File:Starbase 14 (side).png|Starbase 14 | ||
File:Starbase 14 (top).png| | File:Starbase 14 (top).png| | ||
File:Starbasepegpic01.jpg|Starbase 51 | File:Starbasepegpic01.jpg|Starbase 51 | ||
File:Starbasepegpic02.jpg| | File:Starbasepegpic02.jpg| | ||
File:Starbasepegpic05.jpg| | File:Starbasepegpic05.jpg| | ||
File:Starbase 375 side.png|Starbase 375 | File:Starbase 375 side.png|Starbase 375 | ||
File:Starbase 375 dorsal.png| | File:Starbase 375 dorsal.png| | ||
File:Starbase 375 profile.png| | File:Starbase 375 profile.png| | ||
File:Starfleet headquarters by metlesitsfleetyards-d49nw9x.jpg|Starfleet HQ (original) | File:Starfleet headquarters by metlesitsfleetyards-d49nw9x.jpg|Starfleet HQ (original) | ||
File:Franz joseph starfleet hq by metlesitsfleetyards-db20uu5.jpg|Starfleet HQ (alternate) | File:Franz joseph starfleet hq by metlesitsfleetyards-db20uu5.jpg|Starfleet HQ (alternate) | ||
File:Starfleet Orbital Complex.png|Starfleet HQ (later) | File:Starfleet Orbital Complex.png|Starfleet HQ (later) | ||
File:Starfleet Museum.jpg|Starfleet Museum | File:Starfleet Museum.jpg|Starfleet Museum | ||
File:Stationwindow.jpg| | File:Stationwindow.jpg| | ||
File:Surplus Depot station.png|Surplus Depot station | File:Surplus Depot station.png|Surplus Depot station | ||
File:Torpedo Defense Facility (side).png|Torpedo Defense Facility | File:Torpedo Defense Facility (side).png|Torpedo Defense Facility | ||
File:Torpedo Defense Facility (side 2).png| | File:Torpedo Defense Facility (side 2).png| | ||
File:Torpedo Defense Facility (top).png| | File:Torpedo Defense Facility (top).png| | ||
File:Torpedo Defense Facility (bottom).png| | File:Torpedo Defense Facility (bottom).png| | ||
File:Utopia planitia station by metlesitsfleetyards-d5idyn1.jpg|Utopia Planitia Station | File:Utopia planitia station by metlesitsfleetyards-d5idyn1.jpg|Utopia Planitia Station | ||
| Line 160: | Line 160: | ||
Watchtower_(dorsal).png | Watchtower_(dorsal).png | ||
Watchtower_(ventral).png | Watchtower_(ventral).png | ||
File:Watchtower class.png| | File:Watchtower class.png| | ||
File:Starbase Vanguard by davemetlesits.jpg| | File:Starbase Vanguard by davemetlesits.jpg| | ||
</gallery> | </gallery> | ||
Revision as of 08:43, 5 August 2023
Stations
-
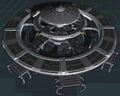 Alexandria class starbase
 -
-
-
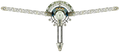 Amargosa Observatory (top)
 -
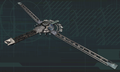
-
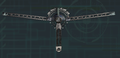
-

-
 Antideuterium Processing Facility
 -

-
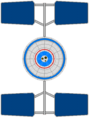
-
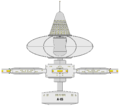
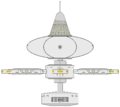
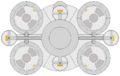
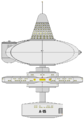 Class A administration station
 -
-
-

-
-
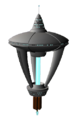 Class B waystation
 -
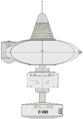 Class C deep space station
 -
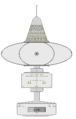
-
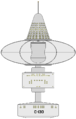
-

-
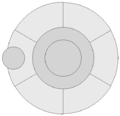
-
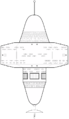 Class E-1 defense station
 -
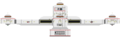 Class F science station
 -

-
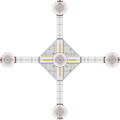
-
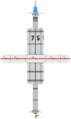 Class N research station
 -

-

-
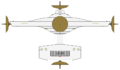 Class O "Oracle" listening post
 -
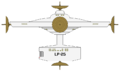
-

-
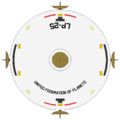
-
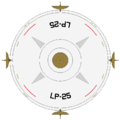
-
 Class P research station
 -

-
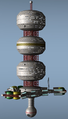 Conway station
 -
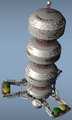
-

-
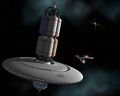 D type supply station
 -
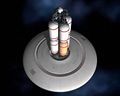 D type (dorsal)
 -
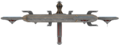 Deep Space 12
 -

-

-
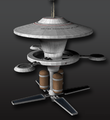
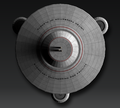
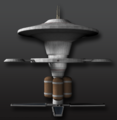 Engineering station
 -
-
-
-
 Epsilon monitor station
 -
 Type F research station
 -

-
-
 G type starbase
 -

-
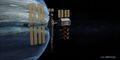
 Gateway Station
 -
-
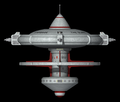 H type station
 -
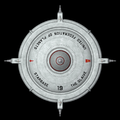
-
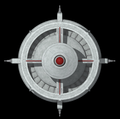
-
-
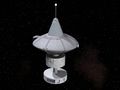 J type station
 -
 Jovian mining station
 -
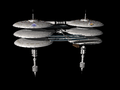 Jupiter Station
 -
 K type station
 -

-

-
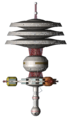 Kelway station
 -
 Listening post
 -
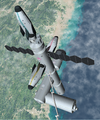 Modular space station one
 -
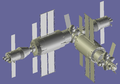 Modular space station two
 -
 Modular space station three
 -
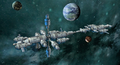 Modular space station four
 -
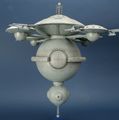 Moebius Deep Space Station
 -

-
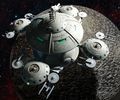
-
 Orbital Office Complex (early 23rd c.)
 -
 Orbital Office Complex (later 23rd c.)
 -
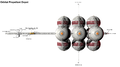 Orbital propellant depot
 -
 Phaser Defense Facility
 -

-

-
-
 Q Type outpost
 -
-

-
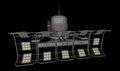 Refinery depot
 -
-
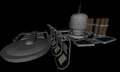
-
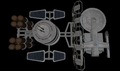
-
 Regula-type science outpost
 -
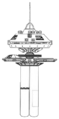
-

-

-

-
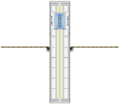 Relay station (mid-23rd c.)
 -

-
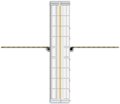
-

-

-
 in stowed configuration
 -

-

-

-

-
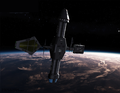
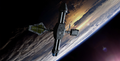
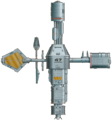 Relay station (24th c.)
 -
-
-
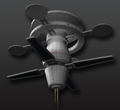
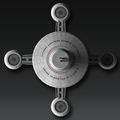
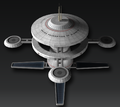
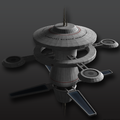 Science facility
 -
-
-
-
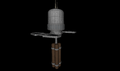 Sensor Relay Facility
 -
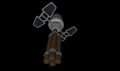
 Sensor Relay Facility
 -

-
-
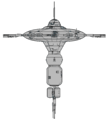 Starbase 1 (profile)
 -
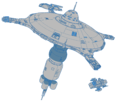 Starbase 1 UESF (slanted)
 -
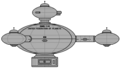 Starbase 14
 -
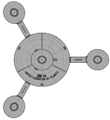
-
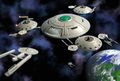 Starbase 51
 -
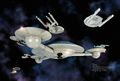
-
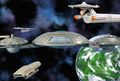
-
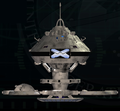 Starbase 375
 -
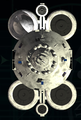
-
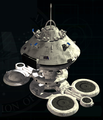
-
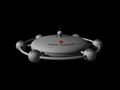 Starfleet HQ (original)
 -
 Starfleet HQ (alternate)
 -
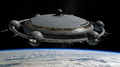 Starfleet HQ (later)
 -
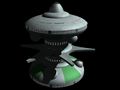 Starfleet Museum
 -
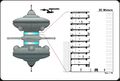
-
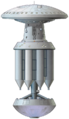 Surplus Depot station
 -
 Torpedo Defense Facility
 -

-

-

-
 Utopia Planitia Station
 -
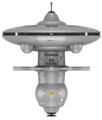 Watchtower class starbase
 -
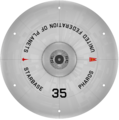
-
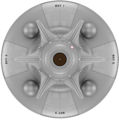
-
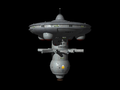
-
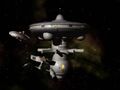
.png)
.png)
.png)

.png)
.png)
.png)
.png)
.png)
.png)
.png)
.png)
.png)
.png)
.png)

.png)
.png)
.png)
.png)
.png)

.png)
.png)
.png)
.png)
.png)
.png)
.png)
.png)
.png)
.png)
.png)
.png)
.png)

.png)
.png)

.jpg)
.png)
.png)
.png)
.png)
.png)
.png)
.png)
.jpg)
.png)
.png)
.png)


.png)
.png)
.png)
.jpg)


.png)
.png)
.png)


.png)
.png)
.png)
.png)

.png)
.png)
.png)
.png)
.png)
.png)


.png)
.png)

.png)
.png)
.png)
.png)
.png)
_(profile).png)
_(bow).png)
_(dorsal).png)
_(stern).png)
_(ventral).png)
.png)
.png)

.png)
.png)
.png)
.png)
.png)
.png)
.png)
.png)

.png)
.png)
.png)


.png)
.png)
.png)
.png)


.png)
.png)


Drydocks
-
 23rd c. (early) drydock
 -
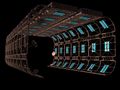 23rd c. drydock
 -
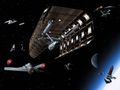 23rd c. drydock (conducting refit)
 -
 23rd c. drydock (smaller)
 -
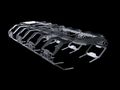 24th c. drydock
 -
 Aztec SFDD-300 drydock (with Federation)
 -
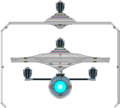
-
-
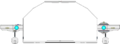
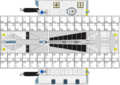
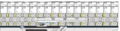 Bremerton SFDD-600 drydock
 -
-
-

-
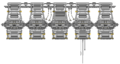 Caral class (Warp 5 Complex)
 -
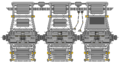 Chico class drydock (Warp 5 Complex)
 -
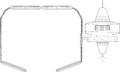 Class E-2 repair station
 -
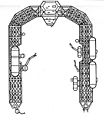 DD495 drydock
 -
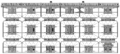 Egpytian class drydock
 -
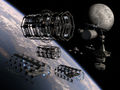 Fleet yards
 -
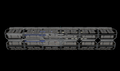 Large Construct Dock (side)
 -
-
-
 Levant class drydock
 -
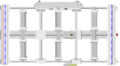 SFDD Locrian
 -
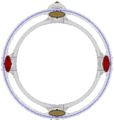
-
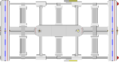
-
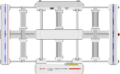 (with pods)
 -
-

-
 Maya SFDD-400 class drydock
 -
 with Constitution
 -
-
-
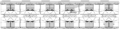 Antares SFDD-450 class drydock
 -

-

-

-
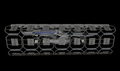 Medium Construct Dock (side)
 -
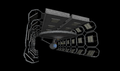 Medium Construct Dock (front)
 -
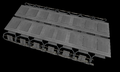 Medium Construct Dock (top)
 -
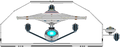
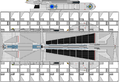
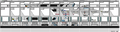 Pearl SFDD-500 class mobile drydock (with Ascension)
 -
-
-
 Persian class drydock
 -
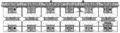 Persian (II) class drydock
 -
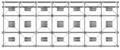 Pharoah SFDD-200 class drydock
 -
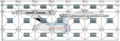 (with Constitution)
 -
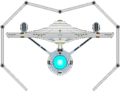
-
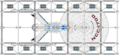
-
 Polyarny SFDD-700 class drydock
 -
-
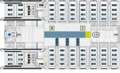
-

-
 Remmler Array (side)
 -
 Remmler Array
 -
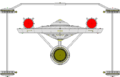
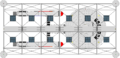
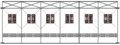 Roman SFDD-100 class drydock
 -
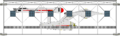 (with Constitution)
 -
-
-
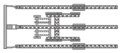 Station Maintenance Frame
 -
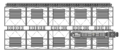 Sumerian drydock
 -
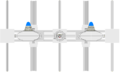 SFDD Vektor
 -
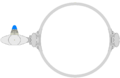
-
-
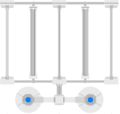
Star Fleet shipyards and docking clamps chart


.png)
.png)
.png)
.png)
.png)
.png)
.png)


.png)
.png)
.png)

.png)
.png)
.png)
.png)
.png)
.png)

.png)
.png)
.png)
.png)
.png)
.png)
.png)
.png)
.png)
.png)
.png)
.png)
.png)

_drydock.png)

.png)
.png)
.png)
.png)
.png)
.png)
.png)


.png)
.png)
.png)


.png)
.png)
.png)
Equipment
-
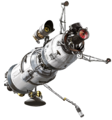 UE automated subspace relay
 -
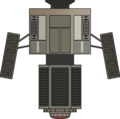 UE automated subspace relay (temporary)
 -
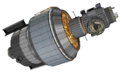 UE buoy
 -
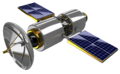 UFP automated subspace relay


Non-Federation Facilities
-
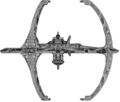 Nor mining station
 -
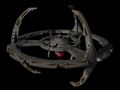 Nor class station
 -
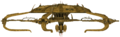 Vakor shipyard
 -

-



.png)
.png)
.png)
