Help:Space Stations: Difference between revisions
Jump to navigation
Jump to search
| Line 52: | Line 52: | ||
File:TOS Phase II orbital office by metlesitsfleetyards.jpg|Orbital Office Complex (early 23rd c.) | File:TOS Phase II orbital office by metlesitsfleetyards.jpg|Orbital Office Complex (early 23rd c.) | ||
File:Orbital office complex by metlesitsfleetyards-d40fe4z.jpg|Orbital Office Complex (later 23rd c.) | File:Orbital office complex by metlesitsfleetyards-d40fe4z.jpg|Orbital Office Complex (later 23rd c.) | ||
File:Midas (top).png| Midas Array subspace telescope (top) | |||
File:Midas (side).png| Midas Array (side) | |||
File:Midas (bottom).png| Midas Array (bottom) | |||
File:Phaser Defense Facility (side).png|Phaser Defense Facility (side) | File:Phaser Defense Facility (side).png|Phaser Defense Facility (side) | ||
Revision as of 17:37, 2 May 2017
Stations
-
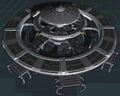 Alexandria class starbase (profile)
 -
 Alexandria class starbase (side)
 -
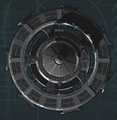 Alexandria class starbase (top)
 -
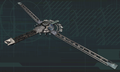 Amargosa Observatory (profile)
 -
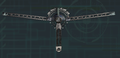 Amargosa Observatory (above)
 -
 Amargosa Observatory (side)
 -
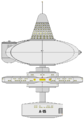 Class A administration station (side 1)
 -
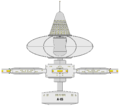 Class A (side 2)
 -
 Class A (dorsal)
 -
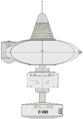 Class C deep space station (side 1)
 -
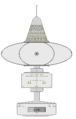 Class C (side 2)
 -
 Class C (dorsal)
 -
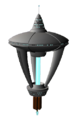 Class B waystation
 -
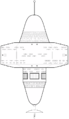 Class E-1 defense station
 -
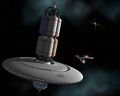 D type supply station
 -
Early orbital station
-
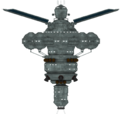 Early UE starbase (side)
 -
 Early UE starbase (top)
 -
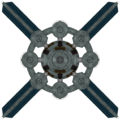 Early UE starbase (bottom)
 -
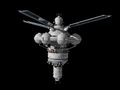 Early UE starbase
 -
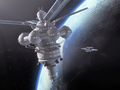 Early UE starbase
 -
 Earth Spacedock
 -
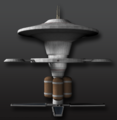 Engineering station (side)
 -
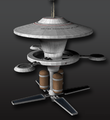 Engineering station (side profile)
 -
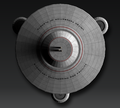 Engineering station (top)
 -
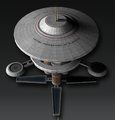 Engineering station (top profile)
 -
 G type starbase
 -
 G type starbase
 -
 Gateway Station
 -
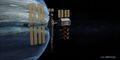 Gateway Station (image)
 -
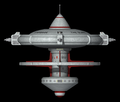 H type station (side)
 -
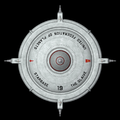 H type station (top)
 -
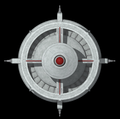 H type station (bottom)
 -
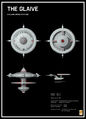 H type station (specsheet)
 -
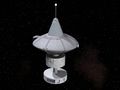 J type station
 -
 Jovian mining station
 -
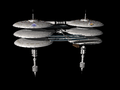 Jupiter Station
 -
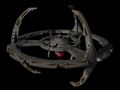 Nor class station
 -
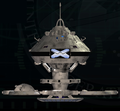 Starbase 375 (side)
 -
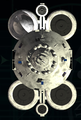 Starbase 375 (dorsal)
 -
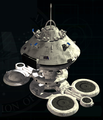 Starbase 375 (profile)
 -
 Orbital Office Complex (early 23rd c.)
 -
 Orbital Office Complex (later 23rd c.)
 -
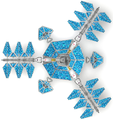 Midas Array subspace telescope (top)
 -
 Midas Array (side)
 -
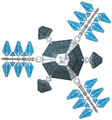 Midas Array (bottom)
 -
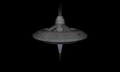 Phaser Defense Facility (side)
 -
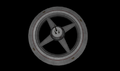 File:Phaser Defense Facility (top).png
 -
 Phaser Defense Facility (top profile)
 -
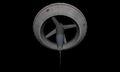 Phaser Defense Facility (bottom)
 -
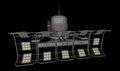 Refinery depot (side)
 -
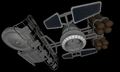 Refinery depot (bottom)
 -
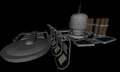 Refinery depot (front)
 -
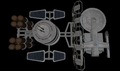 Refinery depot (top)
 -
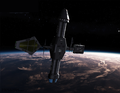 Relay station
 -
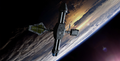 Relay station
 -
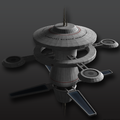 Science facility (side profile)
 -
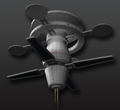 Science facility (bottom profile)
 -
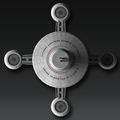 Science facility (top)
 -
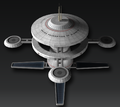 Science facility (top profile)
 -
 Science outpost
 -
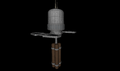 Sensor Relay Facility (side)
 -
 Sensor Relay Facility (side 2)
 -
 Sensor Relay Facility (top profile)
 -
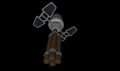 Sensor Relay Facility (bottom)
 -
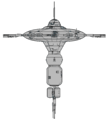 Starbase 1 (profile)
 -
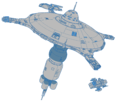 Starbase 1 UESF (slanted)
 -
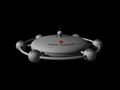 Starfleet HQ (original)
 -
 Starfleet HQ (alternate)
 -
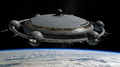 Starfleet HQ (later)
 -
 Torpedo Defense Facility (side)
 -
 Torpedo Defense Facility (side 2)
 -
 Torpedo Defense Facility (top)
 -
 Torpedo Defense Facility (bottom)
 -
 Utopia Planitia Station
 -
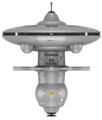 Watchtower class starbase
 -
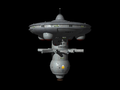 Watchtower class starbase
 -
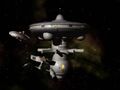 Watchtower (SB 47 Vanguard)
.png)
.png)
.png)
.png)
.png)
.png)
.png)
.png)
.png)
.png)
.png)
.png)


.png)
.png)
.png)


.png)
.png)
.png)
.png)


.png)
.png)
.png)
.jpg)


.png)
.png)
.png)
.png)
.png)
.png)
.png)
.png)
.png)
.png)
.png)
.png)

.png)
.png)
.png)
.png)

.png)
.png)
.png)
.png)

.png)


.png)
.png)
.png)
.png)


Drydocks
-
 23rd c. (early) drydock
 -
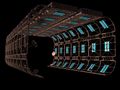 23rd c. drydock
 -
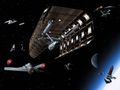 23rd c. drydock (conducting refit)
 -
 23rd c. drydock (smaller)
 -
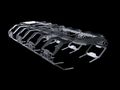 24th c. drydock
 -
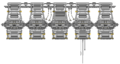 Caral class (Warp 5 Complex)
 -
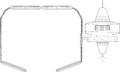 Class E-2 repair station
 -
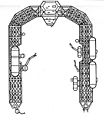 DD495 drydock
 -
Earth Station McKinley
-
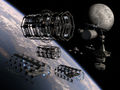 Fleet yards
 -
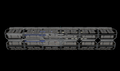 Large Construct Dock (side)
 -
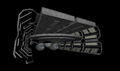 Large Construct Dock (front).png
 -
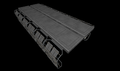 Large Construct Dock (top)
 -
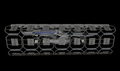 Medium Construct Dock (side)
 -
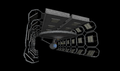 Medium Construct Dock (front)
 -
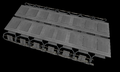 Medium Construct Dock (top)
 -
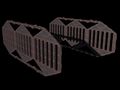 Remmler Array
 -
 Sumerian drydock
 -
Star Fleet shipyards and docking clamps chart


.png)
.png)
.png)
.png)
.png)
.png)


Non-Federation Facilities
-
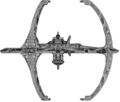 Nor mining station


